Sunday 4 December 2016

85e Regiment d'Infanterie de Ligne

I feel slightly guilty that I hinted a few posts back that I would be slowing down a bit on this project because as a result The Archduke immediately offered to paint a unit for me. Now as you know I have units in my collection painted by various talented Hinton Hunt aficionados so I wasn’t going to pass up such a chance to swell the ranks. As I’m short of French troops I thought another unit of fusiliers would be just the ticket, so here they are.


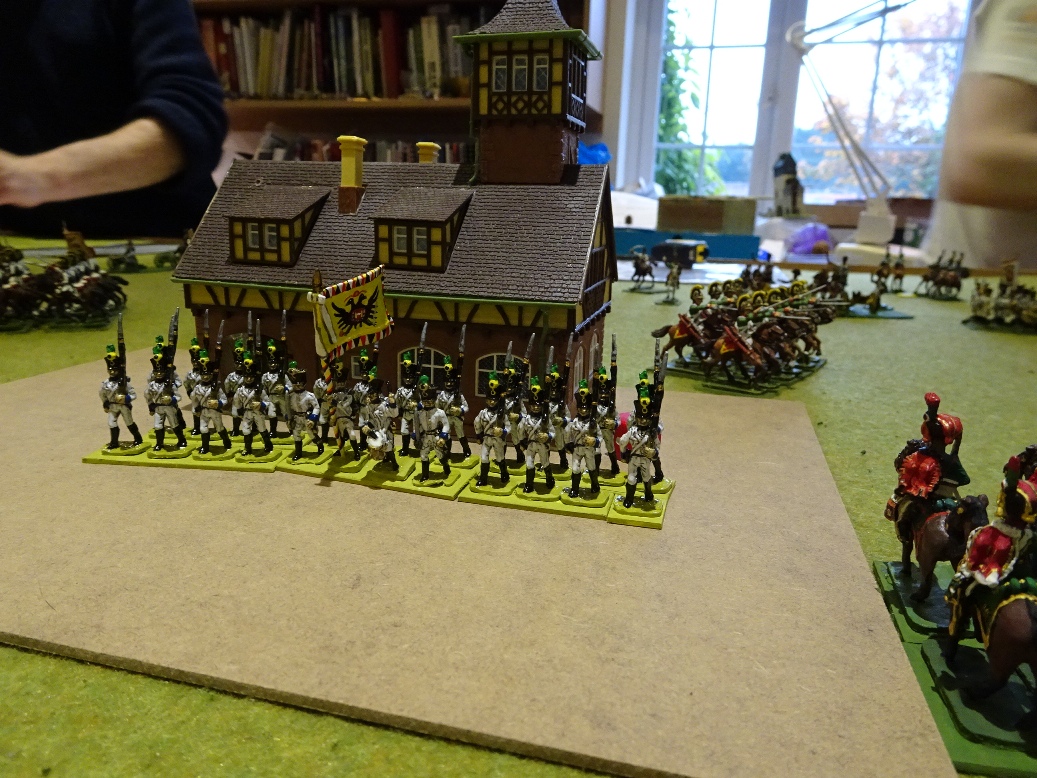
This unit will represent the grizzled veterans of the 85e Regiment d'Infanterie de Ligne who have an impressive list of battle honours (Ulm 1805, Austerlitz 1805, Eylau 1807, Friedland 1807, Essling and Wagram 1809) and also took part in the battle of Waterloo. I quite like the irony that a unit painted by the Archduke's own hand had such a significant part in thrashing the Austrians.


All the figures used to make up this unit are vintage ones. The rank and file are FN/5 Fusilier (charging) and the command figures are FN/1 Officer (charging), FN/4 Colour bearer (charging), FN/6 Drummer (charging).


My thanks to Nigel for equipping these splendid reinforcements and for helping to reduce the lead pile by a further 24 figures.

Thursday 24 November 2016

Back to warm woollen mittens

You may recall that I began the year with a bit of an Austrian theme going but then got diverted into painting Prussian cavalry. With Vintage Leipzig out of the way I thought it would be a good idea to try and complete the Musketeer Regiment No 4 Hoch-Und Deutschmeister and with luck I’ll have them done by Christmas.

I’ve just finished the command group which consists of 2 officers, 1 drummer and a standard bearer. I’ve got a real mix here of vintage, Clayton and DK although I can’t remember which is which as the figures are currently stuck on bottle tops and I can’t check the bases. The flag bearer is of course easily identified as the Clayton one.

I’m not particularly good at painting flags free hand (as is clear from the photo) and in fact when I got out my 51st Gabriel Spleny Regiment for the recent game I felt compelled to re-touch their flag as it was pretty poor (for some reason I’d completely missed out the white). This one is a bit better although a tad on the impressionistic side however from a gaming distance it looks quite alright especially if I take my glasses off.

Sunday 20 November 2016

They’re all Greeks to me

Although I’ve been interested in wargaming since I was twelve years old I’ve never really dabbled in the ancient period. I did have quite a few Romans and Britons when Airfix first released them but I never replaced these with any metal figures when I entered my ‘serious’ wargaming phase. I may have been put off by playing a game with one of my school friends who insisted on pushing heaps of Airfix Robin Hood figures around the table alleging they were Carthaginian veteran spearmen. I think if you can’t be bothered to stand the toy soldiers up you really shouldn’t be playing wargames at all.


AG/7 Officer waving sword
AG/10 Hoplite thrusting with sword
AG/11 Hoplite thrusting with spear
AG/13 Hoplite marching

As a result of this I don’t know very much about the various Ancients periods and was certainly made to feel a bit inadequate when observing WRG competition games back in the 80s. The games didn’t look like much fun and always seemed to be small scale affairs rather than the large pitch battles I imagined from my limited knowledge of Hannibal, Alexander and Caesar. About ten years ago I did buy a copy of Warhammer Ancient Battles which looked more like the sort of rules I might enjoy to play. I even painted up a few 28mm Carthaginians (and based them so they stood up!) but not long after this I was seduced by the Hinton Hunt’s and Hannibal’s lads were boxed up and forgotten.

Now some of you may not be aware that Hinton Hunt actually did produce a range of 20mm Ancient figures. It wasn’t a very big range but covered Greeks, Persians, Romans and Celts so when this lot came up on eBay last week I couldn’t resist particularly as nobody else bid on them. It’s a nice little batch of figures as it includes one of each type of Greek figure released. Not much use from a wargaming point of view as this really is a tiny army however it’s really interesting to see them as I’m sure you’ll agree.

Saturday 5 November 2016

Vintage Leipzig (Conclusion)

By now Blucher was developing his attack towards Leipzig on the north table. Here Saxon's defend the outskirts of the city whilst 3 battalions of Young Guard newly arrived from the reserve bolster my line.
This is another view of the Poles advancing towards Schwarzenburg's line. As I was absorbed in my own sector of the battle by this time I never really did find out what Poniatowski's plan was - if indeed he had a plan!
Augereau's men press forward in an attempt to capture Connewitz (right of photo) which by this time had fallen to the Austrians. It looks as if the ranks of the 105th ligne are a little disordered.
Schwarzenburg's white coated steamroller has come to a halt content to let the Poles advance and do their worst. I have to say that Roy's Austrian army is most impressive.
An unusal occurrence - Russian hussars catching a French battalion out of square. I don't know how this encounter ended but as the infantry are disordered I'm thinking that the cavalry must have got the better of them.
The hand of Napoleon attempting to command the Russians to run away. I don't think they were taking any notice however.
The French are still hanging on to Markkleeberg but by now both the other villages were firmly in allied hands.
The Austrians again - I found that my eye was constantly drawn towards them! The outskirts of Leipzig (south) can be seen top left of the photo however Schwarzeburg's decision not to advance further meant the city was spared.
Blucher's line presses in against my flank at Leipzig (north). Over half of the Army of Silesia was comprised of Landwehr battalions but they behaved well during the battle and I don't think a single unit routed.
In the centre of the French position on the south table my very own 45th ligne and 9th legere are about to enter the fray against the attacking Russians. Good luck lads!
Back on the north table Bernadotte had outflanked me on the right and taken the village of Sellerhausen. There was a lot of excited dice throwing by now as the two sides traded vollies of musketry. Those 6's look useful.
Ex Wargames Holiday Centre Landwehr with obligatory over-sized metal flag from Roy's collection. These troops last saw action at Vintage Waterloo.
These are the Poles again. Somehow Poniatowski has hooked up with a unit of hussars - I'm not sure it is the business of a corps commander to join in with cavalry charges.
The Austrians in Connewitz - it doesn't look as if this unit has taken a single casualty in securing the objective.
More of the fighting around Connewitz. A cavalry melee rages in the distance whilst French infantry prepare to wrestle the village from the Austrians.
And what of that cavalry melee on the left flank of the south table? As you can see, yet more French reserves have been committed this time Guard Chasseurs-a-Cheval (FN48 horse attached).
A view along the French line towards Markkleeberg. Both the troops and the players are starting to get exhausted now.
Blucher is making progress towards Leipzig - yes that really is a French battalion routing.
The centre of the south table - Austrian cuirassiers appear to be seeing off French cuirassiers. Hopefully those carabineers will have something to say about this.
So where are the Old Guard? Well for all the use they were in this game they might as well have gone back in time to the 1960s. Here are 2 battalions propping up the Poles. I don't think a single guardsman became a casualty during the whole battle.
Try as they might the French just could not take Connewitz. You can see that both the 105th ligne and the Swiss have taken a lot of casualties in the attempt and both are now disordered (yellow marker).
More of the French attack on Connewitz as the battle reaches its climax.
Now what did I say about the proper place for a corps commander during a battle? If Ponitowski puts spurs to his horse he might just make it to the banks of the Elster before those Austrian dragoons get there.
Marmont's flank under immense pressure from Bernadotte but still holding out in square.
The centre of the French line at the end of play. Markkleeberg has now fallen to the Russians and with all 3 villages in allied hands the game was declared a marginal victory for the allies.
Shwarzenberg (left) and Augereau (right) taking a moment to reflect on the days events.
The north table at the end of play - the view from behind Bernadotte's lines looking towards Leipzig in the distance.

My thanks to all the players for making it such an excellent and memorable game and once again to Roy for providing the venue, most of the troops and a truly magnificent lunch!

Sunday 30 October 2016

Vintage Leipzig (Part 1)

We finally got the chance to play Vintage Leipzig yesterday and it turned out to be every bit as good as the Waterloo game we played last year. Roy did an amazing job of organising and hosting the event not to mention the fact that he knocked up an entire 14 unit Austrian army in the space of 6 months just for this game!

We had eight players which worked out exactly right for the number of commands available and we managed to play eleven turns taking events to a satisfying conclusion. The rules as always were my own set ‘Muskets & Marshals’ and there were well in excess of 2,700 Hinton Hunt figures spread over the two tables.

To make more sense of the following photos and narrative you may want to take a look at my Planning Vintage Leipzig post before you read on.

At the pre-game briefing we divided up the commands and I ended up with Marmont's corps. This was a tricky role as my force of 10 battalions was oposed by some 17 battalions of the enemy. This is the north table showing the initial deployment of my corps.
This is the centre of the French line on the south table between the villages of Markkleeberg (on the left) and  Connewitz (on the right). Roy had a cunning plan to denote the built up areas with A4 sized sheets of MDF. Under my rules only one unit at a time can occupy a BUA.
This is the view across both tables from the extreme right flank of the allies on the south table. In the foreground (stretching to the wood) is Benningsen's Russian corps. On the far side of the room is the north table.
The other half of the allied line on the south table. These are Schwarzenburg's Austrians some 16 battalions strong supported by 6 cavalry regiments and numerous artillery batteries.
These are the Russian cavalry regiments and artillery on the flank of Benningsen's line. As always Roy has a limber for every one of his guns - not many wargamers can boast that.
And these are the Austrian cavalry on Schwarzenburg's flank - the Hinton Hunt Austrian hussar has to be one of the best figures Marcus ever produced and they look simply stunning en-masse. Nice limber too.
Back to the north table - this is Blucher's Army of Silesia. My recently completed cuirassiers are tucked away in the back row behind another unit of cuirassiers that Roy managed to magic up from somewhere.
Part of Augereau's command in the centre of the south table. You may recongnise my Swiss and next to them the 105th ligne. The Swiss managed to maintain their reputation as keen fighters by losing at least half their number in this game.
Now what sort of fiendish weapon do the allies possess that could cause so many casualties to one of my Saxon battalions supposedly safe behind our lines?
Yep, you guessed it!
And here are the Poles on the right flank of the French line on the south table. We had 4 units in czapka (at the far end of the line in this shot) and very smart they looked. As you can see Poniatowski made a rare trip out from my display cabinet to take command of these brave fellows.
These are more of Augereau's men advancing in a rather determined looking fashion to try and secure the villages for the French.
This is Macdonald's corps viewed from the left of the French line. His infantry have already secured Markkleeberg in the distance while his cavalry thrunder forward to meet the Russians.
A general view along the south table at about turn 4. The Russians and Austrians are advancing as both sides try to secure the villages. In the foreground a cavalry clash seems iminent.
The splendid Splenys advance behind two other splendid Austrian units on loan for this game. The flags of these two units are wonderfully painted Clayton cast-on ones.
Russian infantry press on towards Markkleeberg. The unit in the centre rear is the only unit of Russians in my collection the remainder of the units shown here are Roy's.
The Swiss have taken Connewitz. Meanwhile the Poles seem to be making a bit of a ragged advance towards a solid wall of Austrian infantry.
This is another view of the centre of the south table from the French side. Those are my own cuirassiers and carabineers riding past in the foreground - I'm not sure where they're going.
A cavalry battle is finally underway between Macdonald's troopers and those of the Russians. This fight was to continue all day with more and more reserves being drawn into it on both sides.
On the north table Blucher seems to be sending half his heavy cavalry over to support Bernadotte on the left. These are dragoons and cuirassiers from Roy's collection.
A rather colourful cavalry melee - Saxons collide with my recently completed Prussian dragoons. As I remember the dragoons got the better of this clash. Behind the cavalry is a field of Swedes (that was a joke waiting to happen) as Bernadotte aka Roy moves to turn Marnont's flank.
Not a great moment for my cavalry as Roy charges the Brandenburg lancers into my DK combined cuirassiers/dragoons and sends them packing.
Near Markkleeberg, having gained the village, the French have stopped advancing and have formed line ready to receive the Russians with a volley.
Ah, so that's where they were going - into the fight for Connewitz.
The view from behind Macdonald's lines as his infantry deploy. In the left distance you can see the fast developing cavalry melee.
The Poles confronted by rather a lot of Austrians. I'm not quite sure what Poniatowski was up to but fortunately Schwarzenburg never did press home fully on this flank. The allies seemed intent on capturing the villages on the south table rather than attempting to take Leipzig itself.
This seems to be of much more interest to Schwarzenburg - Austrian infantry about to storm Connewitz.
The French however are not going to take this lying down - forward the 105th!
The continuing cavalry battle - the French cuirassiers to the left are part of the reserve. Napoleon chose to drip feed his reserves into the battle rather than to bring them all on in one place. This was probably a wise decision.
The Russian guns blaze away in support of their cavalry. Things are definitely hotting up!

To be continued.