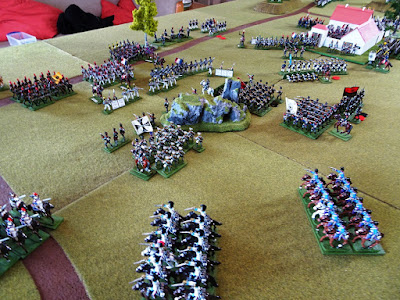
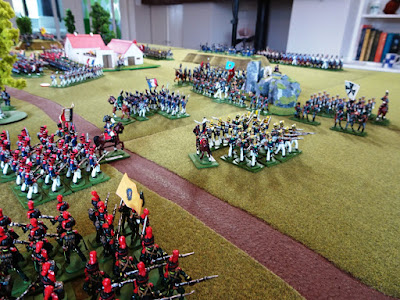
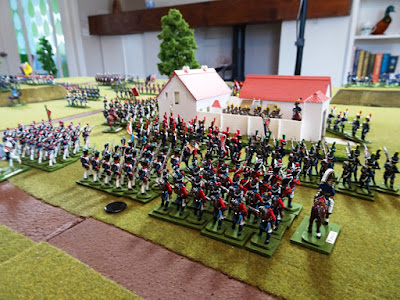
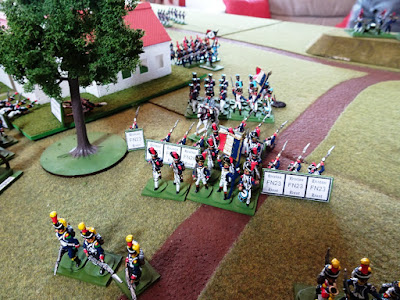
According to this blog I apparently completed my Guard Foot Artillery in 2011 (click here) but I decided after the recent battle that the expanding French army needs a bit more clout in the ‘Emperors Daughters’ department. This was brought home by the fact that the Austrian Artillery had to be drafted in to the French line of battle to bring it up to the six batteries required.
My intention is to take the French Artillery to a total of eight batteries which is the top limit per side on my maximum 8’x4’ playing area. This will be made up of four line foot batteries, two Guard foot batteries and two Guard Horse Batteries. Unusually, all the artillerymen will be vintage Hinton Hunt ones although the guns are a mishmash of Hinton Hunt, Hinchliffe, Newline and RSM.
I applied three layers of gloss varnish to the new figures as a bit of an experiment. This meant I had to re-varnish the original four gunners as these had been completed with my old satin varnish. I’m still not totally sure about a high gloss finish for my figures as I find it does make seeing some of the detail harder although in the long run this may be an advantage.
"Our tribute to the heroic past is its armies in miniature, today." Recreating a 1970s Wargame army using 20mm vintage figures.
Sunday 27 May 2018
Saturday 12 May 2018
Battle of the four Generals (conclusion)
 |
| A full view of the table at the end of turn 7. |
 |
| The cavalry melee looks even with one casualty each. Meanwhile the Leib Hussars have finally been routed (despite which they still get my 'man of the match' award). |
 |
| The Young Guard rout the Russian Grenadiers. This was the high water mark for the forces of the emperor. Wellington looks on "Make ready guards!". |
 |
| On the British flank the Blues&Greys are in action. Big men on big horses with lots of pluses on their die rolls! |
 |
| WM makes one last effort to take the hill by deploying the Musketeer regiment No4 Hoch-Und Deutschmeister. But too little too late, those Cambridgeshires are going nowhere. |
 |
| Turn 8 game over and all three objectives are in allied hands. Here WM's 18th (6th Reserve) regiment proudly wave their flag in a victory salute. |
 |
| Straight from a copy of Minitaure Warfare circa 1972? WM's DK Garde du Corps. Fittingly not a feather was ruffled on these fine fellows who stayed in reserve throughout the game. |
My thanks to my fellow players Tony, Goya and WM for a great game and to Mrs S for lunch.
Wednesday 9 May 2018
Battle of the four Generals (part 3)
 |
| By now the cavalry action on both flanks was coming fast and furious. Here my Brandenburg Uhlans are put to flight by DK cuirassiers and dragoons. Surely Hinton Hunt should trump DK every time? |
 |
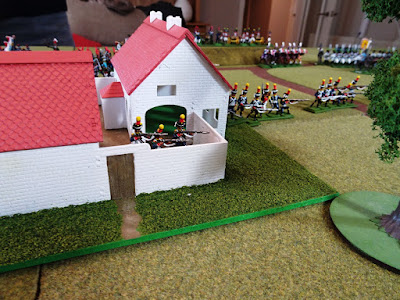
| The farm is now surrounded by a sea of troops. The Young Guard are in the process of successfully charging the Swedish Kajana regiment - a good result for their first taste of action. |
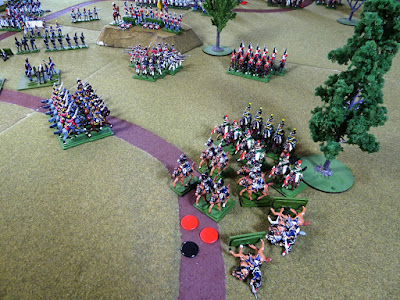 |
| The lancer/chasseurs have finally broken the Light Dragoons. However the British still have plenty of cavalry left on this flank and the Blues&Greys are moving up. |
 | ||
| The Swedish Kajana regiment has retreated and now the Young Guard plough on into the ranks of the Russian grenadiers. This is a tense moment for Wellington. |
Tuesday 8 May 2018
Battle of the four Generals (part 2)
I had set the troops out on the table before the three visiting generals arrived trying to put roughly equal forces in each half of the battlefield. As guest of honour WM got to choose his command first and plumped for the French left comprising both the Austrians and the Imperial Guard. Tony took the French right and Goya the allied right which meant I commanded the Prussians on the allied left. This is how the battle progressed:
Part three to follow...
 |
| The Duke, cool as ever, calmly ordered the 30th foot (yellow flag in the distance) to take the hill to their front whilst the 95th returned the fire of the enemy skirmishers. |
 |
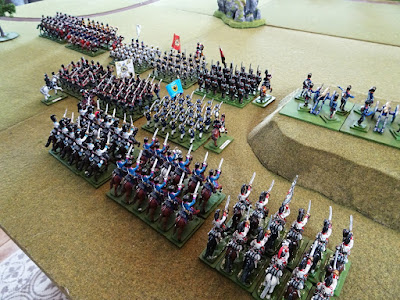
| Meanwhile I ordered my Prussian infantry to advance en-masse and what a splendid sight they made. WM's three units are in the front line while my own bring up the rear. |
 |
| Here you can see that my infantry have already secured 'the rock' (the objective on this side of the table) while my cavalry get stuck into the enemy horse on the extreme flank. |
 |
| And here are WM's famous Leib Hussars about to make mincemeat of the Brunswick Hussars. |
 |
| On the French extreme left another cavalry battle is under way. The lancer /chasseurs seem keen to get to grips with the 11th Light Dragoons while Austrian Hussars move up to support them. |
 |
| Having dealt with the Brunswick Hussars, the Leib Hussars have just ridden down a battery of Guard horse artllery - the Prussians are on a roll! |
Part three to follow...
Monday 7 May 2018
Battle of the four Generals
On Saturday I hosted a game of Muskets & Marshals for attendees Foy, Goya and guest of honour Wellington Man. WM brought his Prussian expeditionary force all the way from New Zealand bringing the total number of Hinton Hunt’s (and DK’s) on the table to just over 1,000.
The scenario was simple enough – two fairly equally balanced forces with a Franco-Austrian army taking on an Anglo-Prussian-Russo-Swedish one (fans of historical scenarios please look away now). There were three objectives in the middle of the table and the idea was for each side to try to gain possession of them. No hanging about in this game it was attack or lose.
I thoroughly enjoyed the game and it was great to get every single figure in my collection on the table. It was also a huge bonus to have WM present and to see some of his splendid figures for real and get to command them in action.
I took quite a few photos so I’m spitting this into several posts, this first one shows the initial dispositions – enjoy!
To be continued.
The scenario was simple enough – two fairly equally balanced forces with a Franco-Austrian army taking on an Anglo-Prussian-Russo-Swedish one (fans of historical scenarios please look away now). There were three objectives in the middle of the table and the idea was for each side to try to gain possession of them. No hanging about in this game it was attack or lose.
I thoroughly enjoyed the game and it was great to get every single figure in my collection on the table. It was also a huge bonus to have WM present and to see some of his splendid figures for real and get to command them in action.
I took quite a few photos so I’m spitting this into several posts, this first one shows the initial dispositions – enjoy!
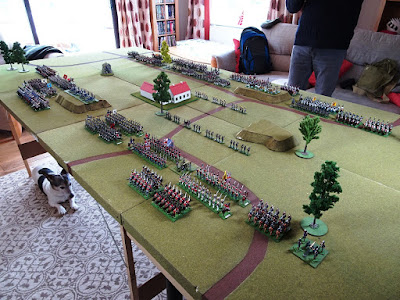 |
| Initial dispositions - view of the whole 8'x4' table from the allied side. There were 1,003 Hinton Hunt and DK figures (zoom in to take a closer look). |
 |
| The Duke of Wellington's finest on the right of the allied line. The main objective of the British was to take and hold the small hill to their front. |
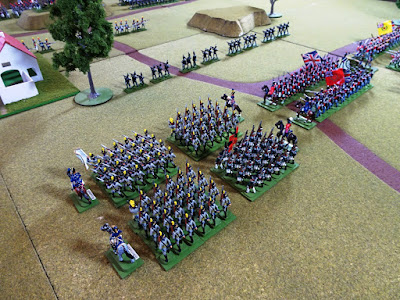 |
| The allied central position was occupied by the Russo-Swedish contingent. They were tasked with taking possession of the farm. Nice to see the Swedes in action, their last outing was Vintage Leipzig. |
 |
| This is the French right flank. The Brunswickers and Nassauers had switched sides for this game. |
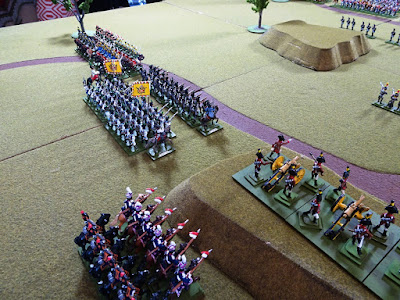 |
| The Austrians took up position on the French left flank opposite the British. |
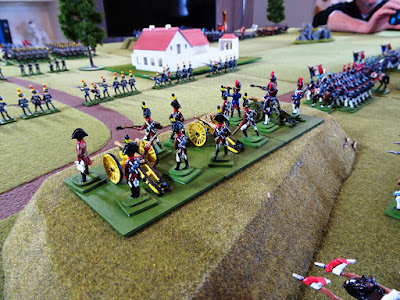 |
| Austrian artillery and French Guard artillery in battery on a hill. |
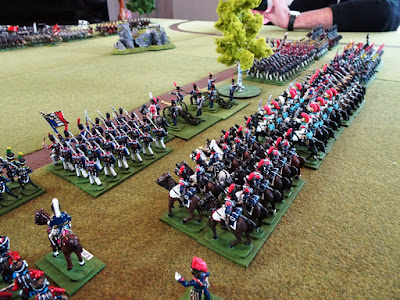 |
| The French centre. Infantry in the front line supported by a reserve of three heavy cavalry units. There were no off table reserves in this game. |
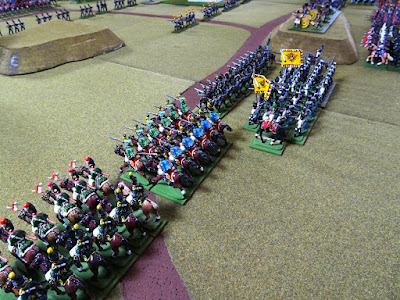 |
| Another view of the Austrians. On the extreme flank are hussars and French lancer/chasseurs. |
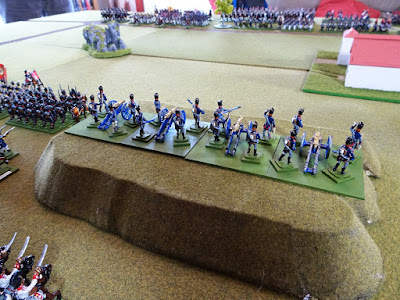 |
| My recently expanded Prussian artillery had a splendid position over looking the farm. Hmm, I wonder who set up the table? |
 |
| My 1970s dream. |
To be continued.
Subscribe to:
Posts (Atom)


